
Gradebook
The Gradebook is where you enter marks, review what's already saved, add report-card remarks, and print report cards.
End-to-end report-card flow
Marks you enter here feed directly into the printed report card. For the full term → marks → PDF flow, including the "absent vs zero" rule and troubleshooting, see the Report Cards guide.
Accessing Gradebook
- Click "Gradebook" in the sidebar navigation
- Pick a class from the first dropdown, and optionally a subject from the second
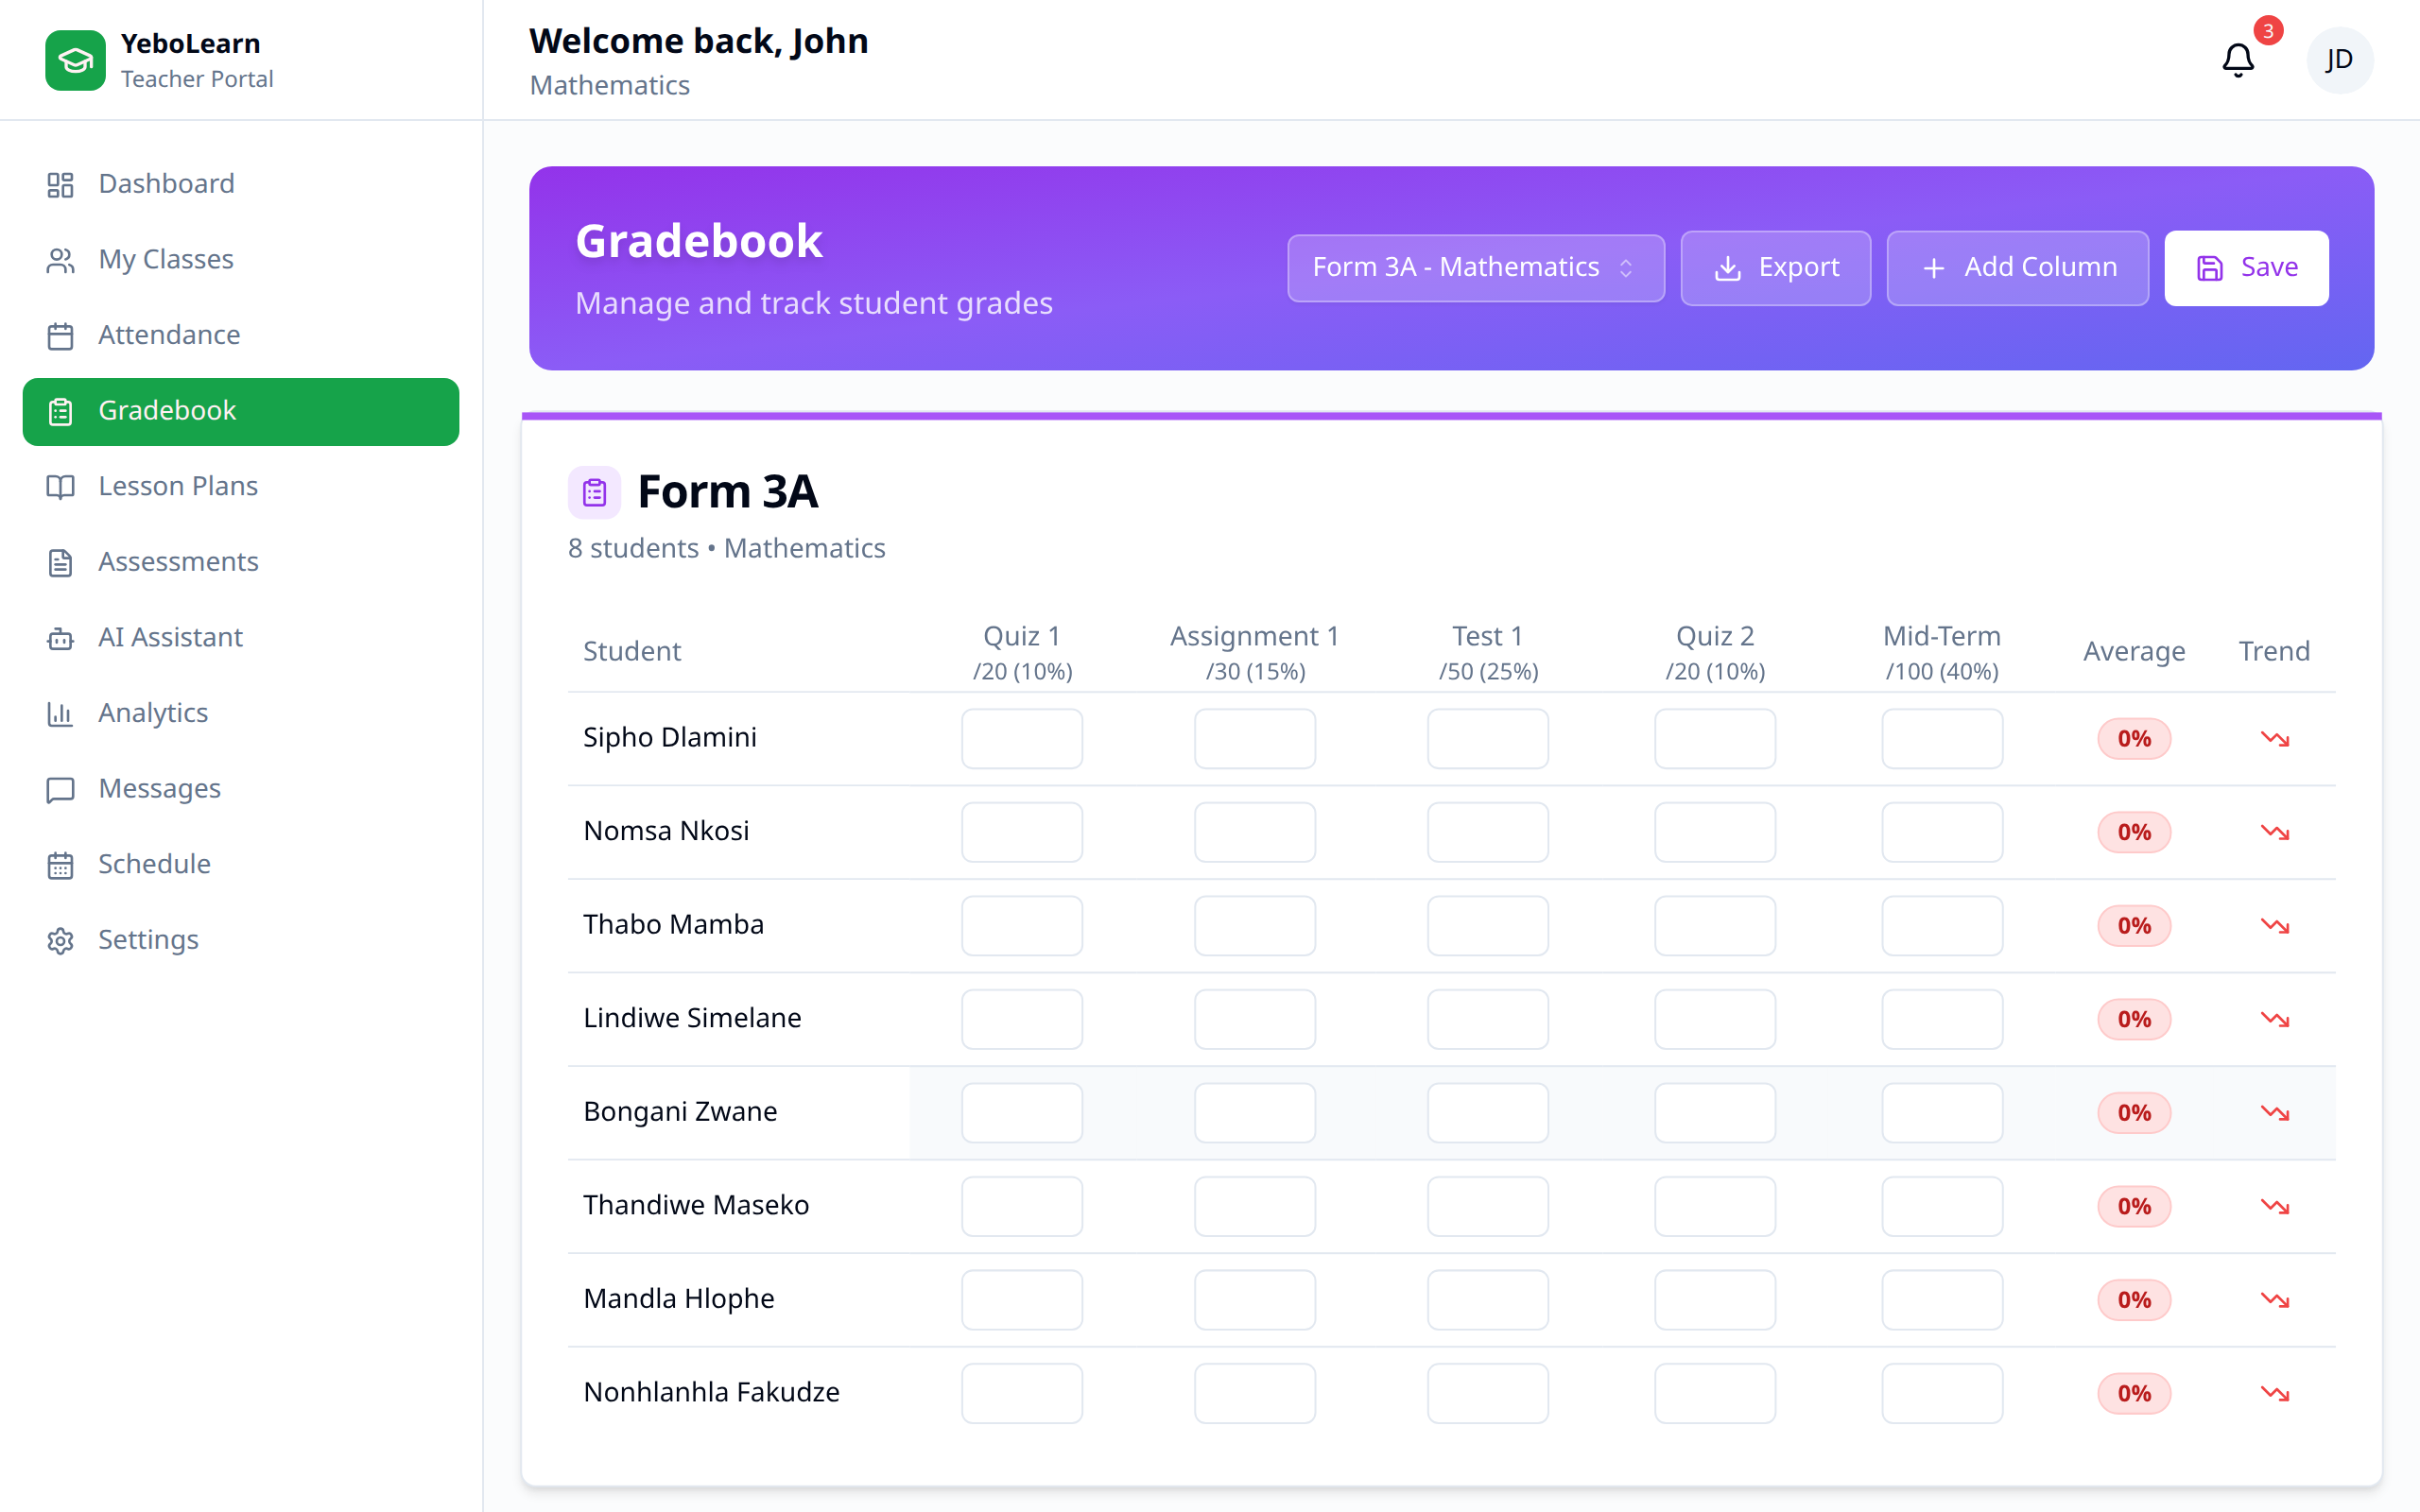
The subject dropdown defaults to "All subjects", which shows every subject you teach in that class side by side.
Gradebook Overview
The Marks Table
Students are listed down the left. Each column is one assessment you've saved — labelled with its type and date (and the subject name too, when you're viewing all subjects) with the maximum score underneath, for example /100.
Cells show each student's score as a percentage, or a dash where nothing was recorded. The Average column is that student's average across all visible columns, shown as a green badge at 50% or above and red below.
The card subtitle tells you how many students are in the class and how many exam columns have been saved.
Entering Marks
Click "Enter Grades" (top right) to open the mark-entry screen for the selected class and subject. You can also get there from the Dashboard, a class card, or a class's My subjects tab.
The Settings Bar
Above the student list is a one-line summary of what you're about to save — type, date, maximum score and exam name. Click "Change" to open it and adjust:
| Field | Description |
|---|---|
| Academic year | The year the marks belong to |
| Term | Which term the marks belong to |
| Assessment type | Quiz, Assignment, Test, Exam, Mid-Term, Final, or Project |
| Date | The date of the assessment (defaults to today) |
| Maximum score | The mark the assessment is out of (defaults to 100) |
| Exam name (optional) | A label such as "Quiz 1" or "Mid-Term" |
WARNING
The term and academic year must match a term your school has set up, otherwise the report card can't find the marks. If you see "No terms configured", ask your admin to add the term before saving.
Typing the Marks
- Enter each student's raw score in the Score column — the Percentage column updates as you type
- Click "Save Grades"
- Once the save is confirmed, the grid clears and the cursor jumps to the first empty score, so you can switch subject in the dropdown and keep going
- Click "Done" when you've finished
Students your admin has marked as not taking the selected subject appear greyed out with "Not taking this subject", and their score box is locked.
What Happens When You Click Save
Every save — whichever students you filled in — goes to your device first, then to the server. What you see next depends on your connection and what the server says:
| Situation | What you see |
|---|---|
| You're offline | A success message immediately: "Saved X marks…" with "You are offline — marks are stored on this device and will sync when you reconnect." The grid clears right away. |
| Online, and the server accepts the save | The button shows "Saving…" while it waits, then the message updates in place to confirm the marks are saved. The grid clears. |
| Online, but the server rejects the save (for example a validation error) | An error message names the problem and stays on screen for several seconds. Nothing is lost — the marks stay queued on your device and retry automatically once the issue is fixed. The grid does not clear, so you can see what still needs attention. |
| Your session has expired | "Your session has expired — please sign in again." Your marks stay queued on this device and finish sending automatically as soon as you sign back in — you don't need to re-enter them. |
| The server hasn't responded yet after about 20 seconds | A neutral note that the marks are saved on this device and still syncing — check the sync chip for progress. This isn't a failure, just a slow connection. |
TIP
If you see "Sign in again," it means your saved marks are safe on this device — sign in and they finish sending on their own. You don't need to redo any entry.
Editing a Saved Mark
- In the Gradebook table, click the percentage cell you want to change
- Type the new raw score (the box shows the maximum next to it)
- Press Enter, or click away, to save — press Escape to cancel
The score must be a number between zero and the maximum, otherwise you'll get an error message. Editing a mark this way needs an internet connection.
Report Cards
The Report cards panel sits between the header and the marks table.
- Choose the Year
- Choose the Term (the list shows the terms your school has set up for that year)
- Click "Print class report cards" to download report cards for the whole selected class as a PDF
To print for one student instead, click the printer icon in that student's Actions column.
Adding Remarks
Report-card remarks are per student, per term. This is the same record your school admin sees and edits on their side — whichever of you saves last wins for the fields you actually change, but leaving a field blank never erases what the other person wrote (see below).
- Pick the Year and Term in the Report cards panel first — the remarks button stays disabled until you do
- Click the speech-bubble icon in the student's Actions column
- The Report card remarks dialog opens with three fields:
- Class teacher's remark (up to 500 characters)
- Principal's remark (up to 500 characters)
- Conduct grade — Excellent, Very Good, Good, Fair, or Poor
- Click "Save remarks"
Leaving a field blank keeps whatever was already there, so you can add your own remark without overwriting the principal's — this is true whether the existing text was entered by you earlier or by a school admin. Saving queues through the same offline outbox as marks: if you're offline you'll see a confirmation that it will sync when you reconnect, and if your session has expired the remark stays queued until you sign back in.
Exporting Marks
- Click "Export" at the top of the Gradebook
- Choose PDF, Excel, or CSV
- The file downloads for the selected class
Best Practices
- Set the term first - Marks saved against the wrong term won't appear on the report card
- Grade promptly - Enter marks while the assessment is fresh
- Be consistent - Use the same assessment type and maximum score for comparable work
- Double-check - Verify the percentages before you leave the entry screen
- Confirm sync - Wait for the chip to read Synced before closing the browser
TIP
Entering marks for several subjects in one sitting? Save, then switch the subject dropdown at the top of the entry screen — the page keeps you in place and clears the grid for the next subject.